

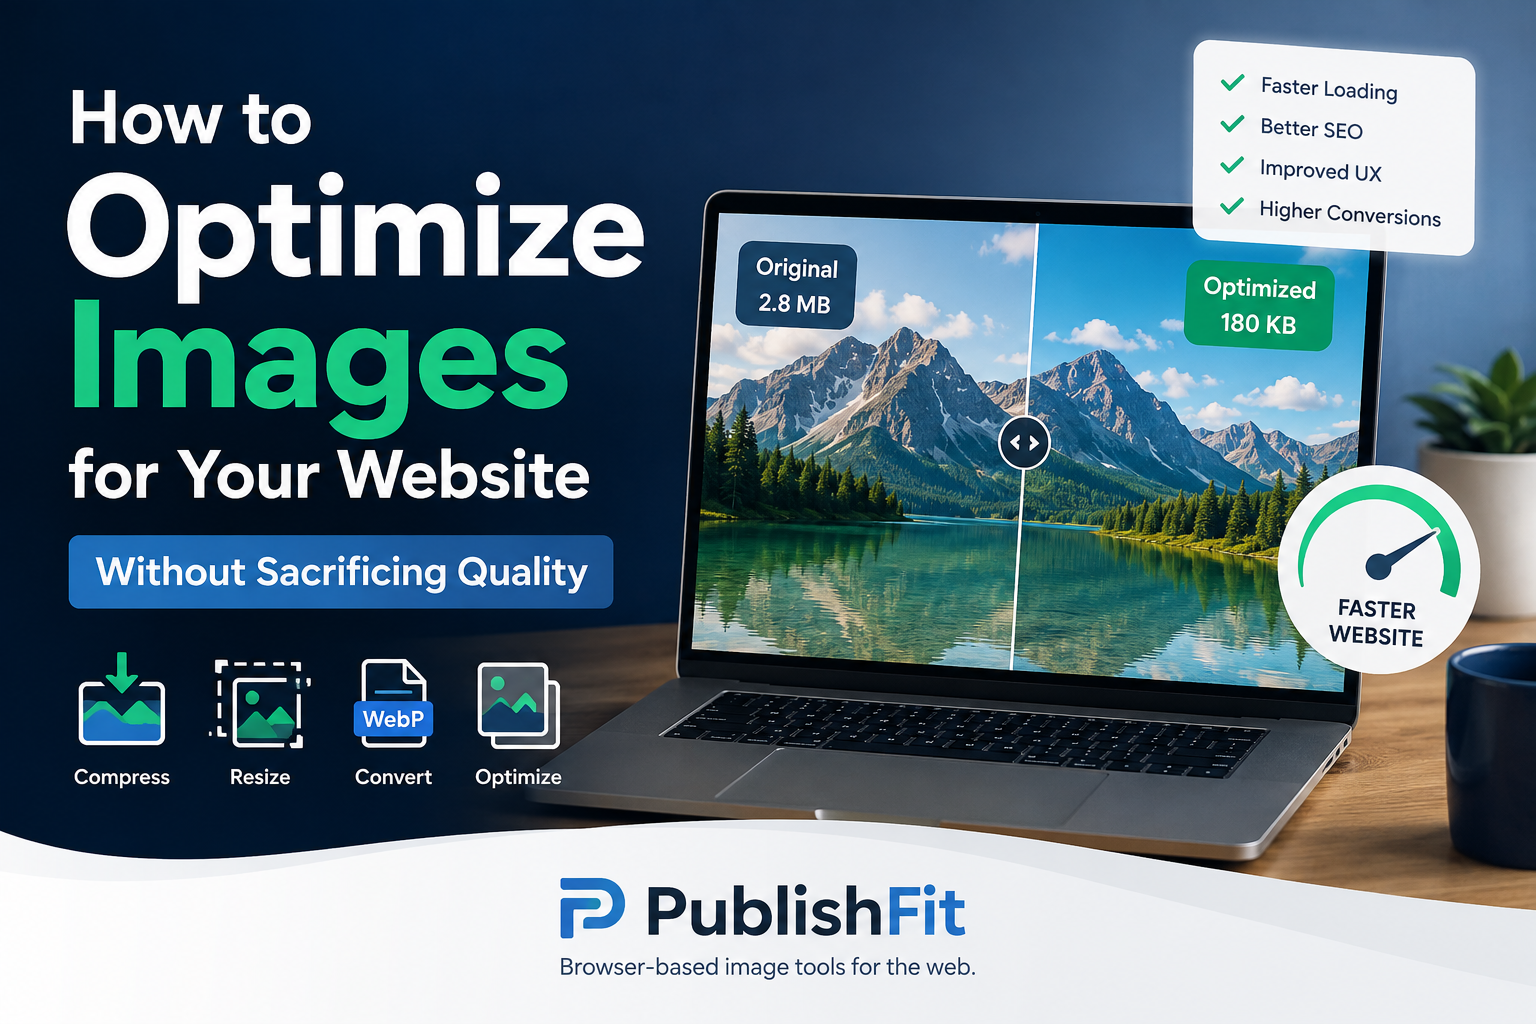
Images can make a website feel polished and professional, but they can also quietly become one of the biggest contributors to page weight.
It’s easy to upload a photo straight from a phone or camera, add it to WordPress, and move on. The problem is that the image may be several times larger than it needs to be for the screen where it will actually appear.
That doesn’t mean every image needs to be aggressively compressed. Good image optimization is more about using the right dimensions, format and file size for the job.
The good news is that you don’t need expensive software to handle most everyday image preparation tasks.
Start With the Dimensions
One of the simplest mistakes is uploading an image that is much larger than the space where it will be displayed.
Imagine a blog has a featured-image area that’s approximately 1200 pixels wide. Uploading a 5000-pixel-wide photograph gives the website far more image data to deal with than necessary.
The browser may display the image at a smaller size, but the original file can still be considerably larger than the version you actually need.
Before compressing an image, ask:
- How large will this image actually appear?
- Does it need to be full-width?
- Is it being used as a thumbnail or featured image?
- Will visitors primarily see it on desktop or mobile?
Resizing an image to sensible dimensions can sometimes reduce its file size dramatically before you even change the compression settings.
If you frequently need to resize images for websites or WordPress, a browser-based tool such as PublishFit’s image tools can make the process quicker without requiring desktop image-editing software.
Compression Isn’t the Same as Making an Image Look Bad
The word “compression” sometimes creates the impression that you have to choose between a tiny file and a terrible-looking image.
That’s not necessarily the case.
Modern image compression works by reducing information that isn’t always noticeable to the viewer. The goal isn’t simply to make the file as small as possible. The goal is to find a reasonable balance between visual quality and file size.
For many website images, reducing a multi-megabyte original to a much smaller file can make a significant difference while still looking perfectly good on a typical screen.
For situations where you have a specific file-size requirement, such as needing an image below 200KB, a target-size compressor can be more convenient than repeatedly changing quality settings and checking the resulting file.
PublishFit’s Compress Image to 200KB tool is designed specifically for that type of task.
Choose the Right Image Format
The file format matters too.
JPEG
JPEG remains useful for photographs and other images containing many colors and gradual transitions.
It’s particularly suitable when you need a relatively small file while retaining good photographic quality.
PNG
PNG is useful when you need lossless image quality or transparency, particularly for graphics, logos, screenshots and other images where sharp edges matter.
However, PNG can produce much larger files than modern alternatives when used for photographs.
WebP
WebP has become a popular choice for websites because it can provide good visual quality at relatively small file sizes.
It can be particularly useful when you’re converting existing JPEG or PNG images for use on a modern website.
The important thing isn’t to automatically convert every image to one format. Consider what the image contains and how it will be used.
Don’t Ignore Mobile Visitors
An image that seems reasonably sized on a desktop connection can still be unnecessarily heavy for someone browsing on a mobile connection.
This is one reason image optimization should be part of the publishing workflow rather than something you only think about after a website becomes slow.
You don’t necessarily need every image to be tiny. You need to avoid sending significantly more image data than the visitor needs.
A properly sized image can help reduce unnecessary page weight while preserving the visual experience.
What About Images for WordPress?
WordPress makes uploading images incredibly easy, which is both a benefit and a potential problem.
It’s tempting to upload the original image and let WordPress handle everything.
But there’s value in preparing an image before it reaches the media library.
For example, a WordPress featured image might have a specific dimension requirement. Preparing the image beforehand means you can control:
- Dimensions
- File format
- Compression
- File size
- Filename
If you’re regularly preparing featured images, having a dedicated WordPress featured image resizer from PublishFit can make that workflow simpler.
Bulk Image Conversion Can Save Time
Optimizing one image isn’t difficult.
Optimizing dozens of images is where the process can become tedious.
If you’re preparing a batch of photographs, product images or website assets, converting each file individually can quickly become repetitive.
A bulk workflow lets you select multiple images, process them together and download the resulting files rather than repeating the same process over and over.
For example, PublishFit’s bulk WebP converter is designed for converting multiple images into WebP in one workflow.
This can be particularly useful when preparing an existing image library for a website migration or optimization project.
Privacy Matters When Using Online Image Tools
There’s another consideration that is easy to overlook: where does the image actually go when you use an online tool?
Some web-based image services require you to upload your original files to a remote server for processing.
That may be perfectly acceptable for ordinary website images. But there are situations where people would rather keep their files on their own device.
Browser-based processing offers another approach.
Instead of sending the original image to a remote server, the browser can handle the processing locally using technologies available on the user’s device.
That’s one of the principles behind PublishFit.
Its image-processing tools are designed around client-side browser processing, so users can prepare images without relying on a traditional upload-and-process workflow.
For privacy-conscious users, that’s an important distinction.
Read about: Google Ads VS Facebook Ads Which one is Better and Why?
A Simple Image Optimization Workflow
For most website images, you don’t need a complicated process.
A practical workflow is:
1. Determine the required dimensions
Don’t upload a 5000-pixel image if the website only needs 1200 pixels.
2. Choose an appropriate format
JPEG, PNG and WebP each have situations where they make sense.
3. Compress the image
Reduce unnecessary file size while keeping the visual quality appropriate.
4. Check the final file
Look at both the image and its resulting file size.
5. Give the file a useful filename
Instead of IMG_4829.jpg, something descriptive can be easier to manage later.
6. Upload the optimized version
Once you’re happy with the result, add it to your website or publishing workflow.
The Goal Isn’t the Smallest Possible File
This is probably the most important point.
Image optimization isn’t a competition to produce the smallest file.
An image that is technically tiny but visibly poor isn’t well optimized. Likewise, a beautiful 6MB image probably isn’t appropriate for a small thumbnail on a blog.
The goal is to find the right balance between dimensions, quality, format and file size for the particular use case.
Once you start thinking about images this way, optimization becomes much less complicated.
Instead of asking:
“How small can I make this image?”
ask:
“What is the smallest practical version of this image that still looks good for its intended use?”
That is a much better starting point for building a fast, efficient publishing workflow.
Read about: How To Get Clients On Upwork: Proven Winning Strategies












Discussion about this post